
Skilled Craftsman with Attention to Detail
Consulting

Outsource


IDF Upgrade Process
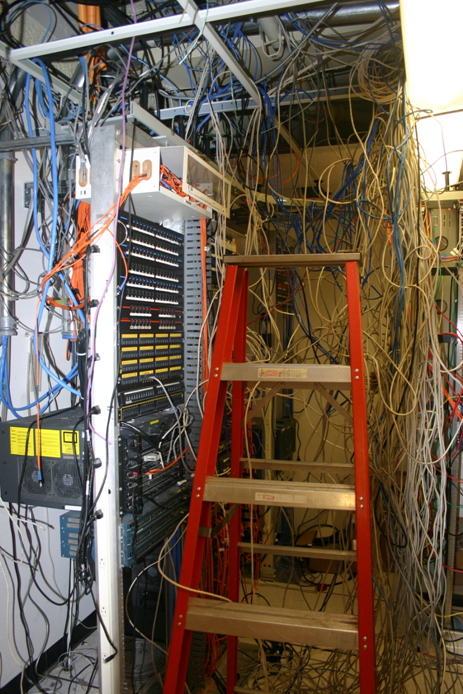
The point of no return! At this phase all the cables are re-numbered and the patch cables removed. Next we removed all the cabling from the back of the patch panels and pulled them back to a point to be separated into organized bundles.
Phase Three
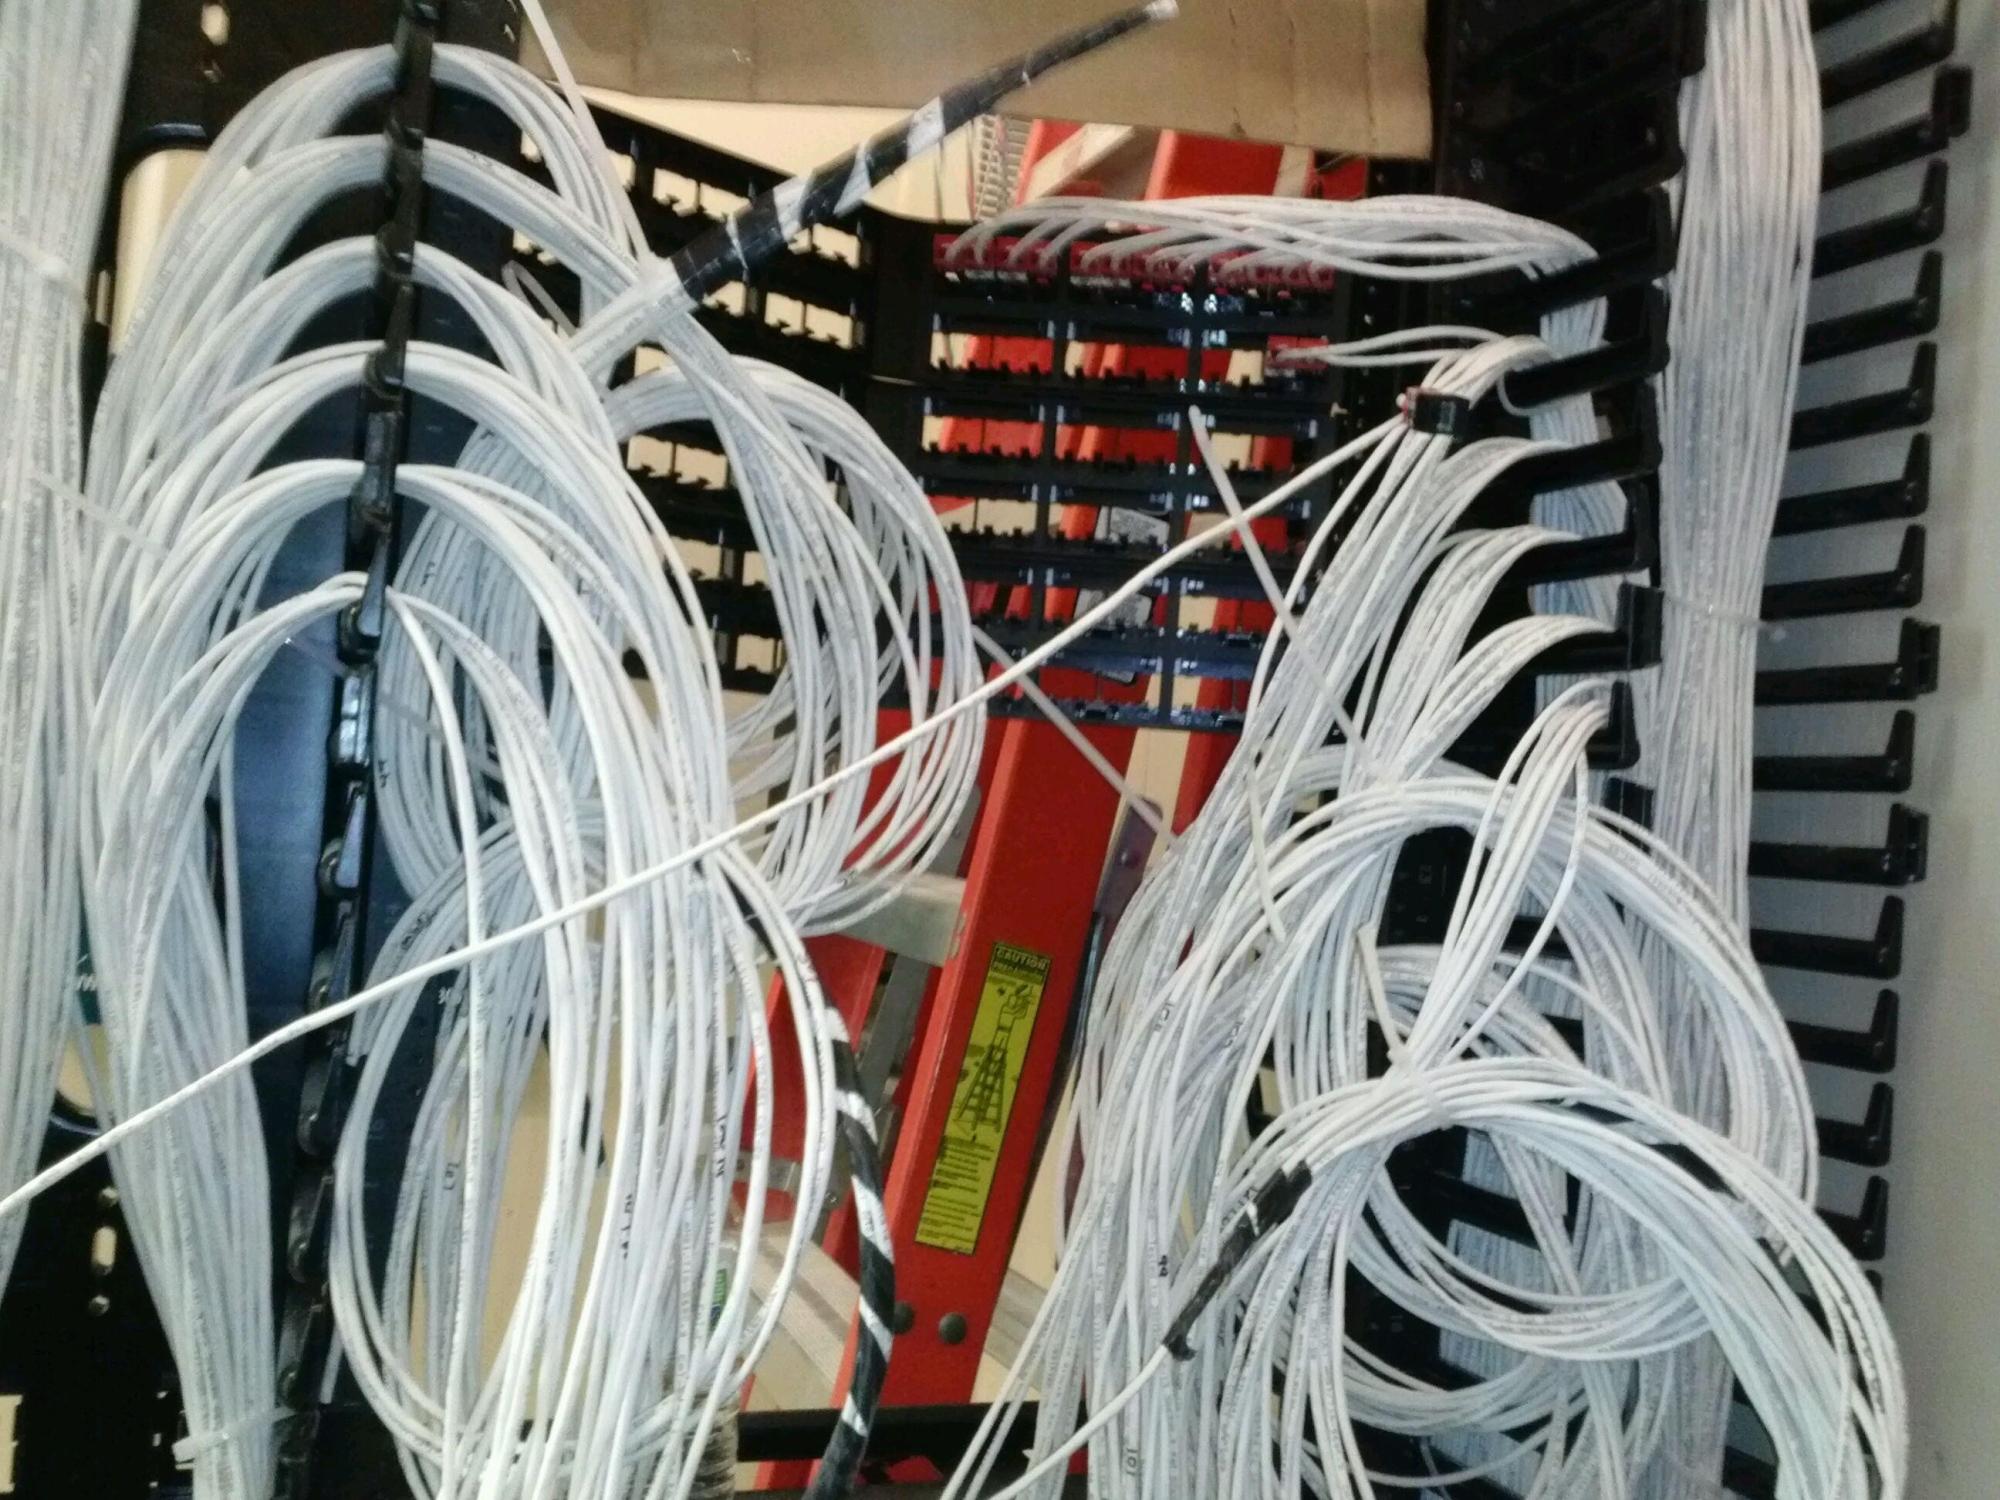
The finger molding of the vertical wire management line up with the patch panel at one rack unit intervals. Twelve cables are dressed into each slot with a one meter loop for slack.
